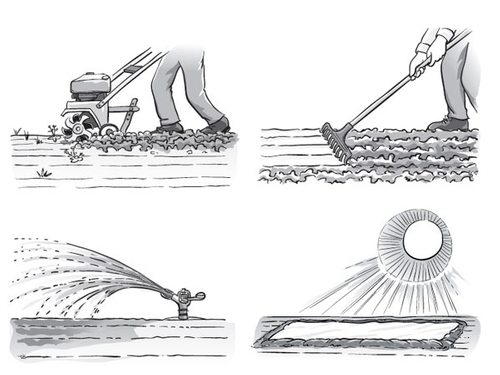
One of the biggest challenges to growing a vegetable garden in a non-raisedbed situation can be the weeds. The can make the garden unsightly, compete with the vegetable plants you really want and make you feel overwhelmed in trying to manage them. Here is your five step plan to a better garden with fewer weeds:
Step one: Control existing weeds. If your garden has any weeds, you first need to take care of them prior to doing anything (except planning). You have a couple of options. You may rototill your garden to dig under existing weeds or you can spray out the garden with a non-selective herbicide such as glyphosate (Round-up). You should do this well before you plan to plant. This will only control the weeds that are there now and you will have more weeds germinate as the temperatures begin to warm up and water is applied. You may have to either manually take out any newly germinated weeds or spray just prior to planting. Take care not to bring weed seeds up from lower soil layers by tilling too deeply.

Step three: Layout your irrigation system and plant. Once your soil has been solarized you can layout your irrigation system. Remember, wherever water is applied, that is where weeds will grow. If you irrigate using a drip system, you can really reduce the number of weeds overall in your garden. Once the irrigation system is in place and you have past the last frost date or planned for cold protection you can plant. For ideas of what to plant when, go to our handy guide at: http://ucanr.org/sites/gardenweb/files/29040.pdf
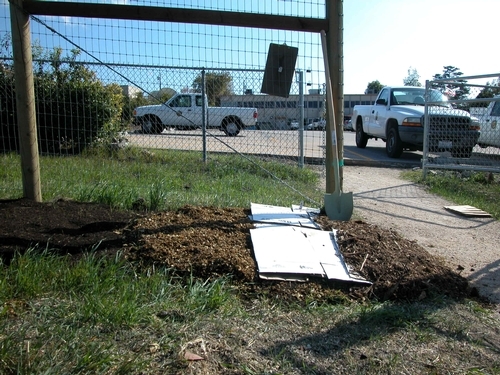
Step four: Mulch. One great tool to reduce weed problem is to use a mulch material over the planting beds
Step five: Grow a healthy garden. A healthy, vigorous garden will be very competitive with any weeds that do germinate. For information on how to do that, go to a PDF on Vegetable Garden Basics at: http://anrcatalog.ucdavis.edu/pdf/8059.pdf