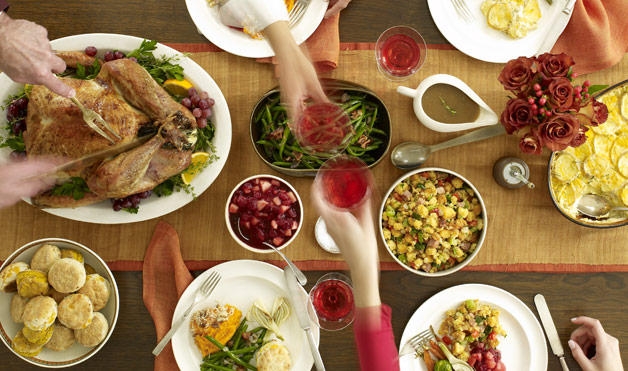
Any connoisseur of meat or vegetable stocks would tell you that the flavor of homemade can't be matched with something store bought. Homemade stock is easy to prepare and can be preserved for future use by simply freezing or using a pressure canner. Consider using homemade turkey stock for soups or as a cooking liquid for quinoa. A good stock adds a sublime flavor to any cooked grain.
Quick and easy homemade turkey stock
To prepare homemade turkey stock, place cooked turkey bones into a large stockpot and cover with water. (It's fine to still have some meat attached to the bones, it only adds to the flavor.) Cover the pot and bring the mixture to a boil, reduce heat and simmer the slurry for 30-45 minutes.
Once simmered, remove bones and let stock cool. Fat will rise to the top of the stock. Use a spoon to remove fat leaving only the turkey-infused liquid. At this point, strain stock through cheesecloth to remove any leftover herbs or bits of meat. This step is optional – many prefer to keep meat trimmings in the stock. Once the fat is removed and the stock is strained, the next step is to preserve the stock for future use.

To freeze, simply seal the stock in a freezer-proof container, freezer gallon storage bags work great for this method. Clearly label and date the storage bag or container – remember that this method has a freezer storage life of 6 months. If freezing the stock in storage bags, it is best to lay the bags on a cookie sheet and freeze flat for easy storage.
For a longer shelf life, consider pressure canning your stock which will preserve the delicious turkey stock for up to 12 months in your pantry.
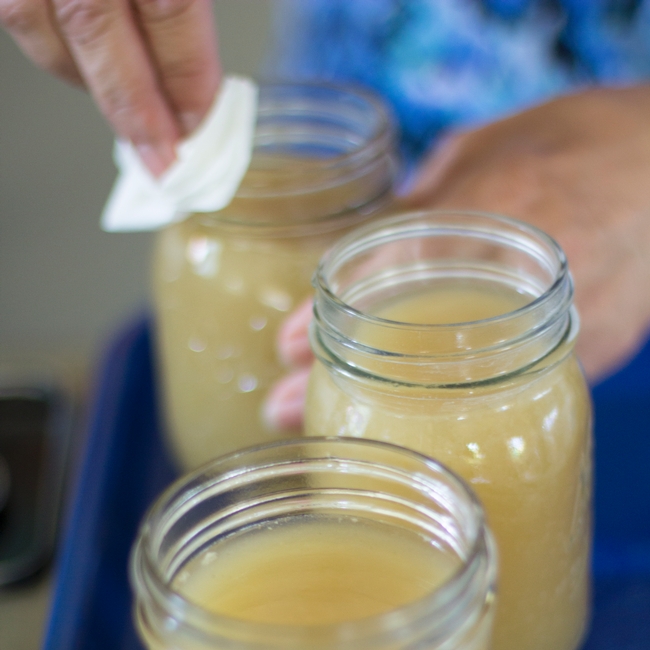
Simply bring your stock back up to a boil and fill sterilized jars, leaving one inch of headspace. Clean rims of the jars before putting on the two part lid, tighten the lid rings only to “finger tight.” Process in a pressure canner using guidelines available from the National Center for Home Food Preservation.
If you are intrigued by pressure canning or need a refresher course, take a class from your local UC Master Food Preserver Program before getting started.